Making a Photo Environment in Your Space
I love it when people ask me about my shooting locations. Often I have great stories about a particular place and its varied nuances.
However, for portfolio shots, many times my reply about a specific location is, “My kitchen.”
If you’re short on time, property releases, or just want a supportive environment in which to set off your subject, creating your own background may simplify your shoot. For portfolio shots, in particular, a unique backdrop helps show off your subject (not to mention your lighting skills) in your own creative way. With some ingenuity and play, you can make a new environment that’s truly your own. Here are 5 photography tips for creating a personal one-of-a-kind scene.
Stick to the Story
All of the elements in your shot need to narrate and support the same story. Consider how texture, color, shape, and line could provide an effective environment for your subject. Think about the journalistic who, what, where, when, why and how.
For example, if your scene takes place in the evening what kind of light do you need? Do you want a warmer temperature or cooler? Why are we in this space? What makes it special? What kinds of people frequent this establishment? Try to evoke all your senses to give definition to your environment and a sense of place.
Make a list of must-haves vs. nice-to-haves knowing that simplicity often wins over complexity in your shot. Create a rough sketch with initial positions for placing your subject, props, and most importantly, your light sources.
Gather your Props and Resources
Next, based on your sketch, brainstorm what tools you have readily available or could easily make in order to bring your vision to life. Gather these relevant items off to the side within reach of your set.
Your list may include flashlights, LED lights, desk lamps, translucent window sheers/curtains, colored gels, flash, reflectors (photographic, car dashboard sun visor, aluminum foil, cookie sheet), white cards, black cards, foam core, colored cards, paper towel tubes, black artist tape, gaffers tape, sticky back tape, wooden crates, slate tiles, cutting boards, plexiglass, tweezers, etc.
Generally speaking, build your setup from the core elements and add the details. With food, for example, decide on the base of your set before accessorizing with placemats, napkins, towels, etc.
It may sound obvious, but often times it’s easy to get caught up with accessories (if you’ve ever bought a pair of shoes and then looked for a dress, you will understand the temptation and risk).
Work in a tethered mode, if possible, to take occasional shots and fine-tune the construction of your set. You may make an adjustment to the set or choose another lens to gain the effect you want.
This is also a great time to play with depth of field in order to keep things shallow enough not to reveal the small parameters of your space. Keep an eye open for what needs to be in focus and what can simply blur away.
Experiment. Experiment. Experiment.
Show no fear and let your inner child play. Let your experience guide you, but try out various twists and turns to keep your shooting fresh. With a “what-if” mentality you can work through some new effects. Do this, however, on your own time before you work with clients. You may want to keep notes of your tests or if you’re working on placement, use some gaffer tape to mark where you’ve tested. You’ll know you’ve reached a good point when you’re comfortable with the presentation of your subject, the look/feel of the set, and the elements of the background and supporting materials.
Conduct a Reality Check
Take a good look at your test shots. Ask yourself these questions: What’s missing? What could be removed? Does the scene evoke the emotion you wanted? Finally, is it believable? It may be a good time to get a second opinion. If you have the luxury of space and time, you may want to leave up your set and revisit these questions the following day. Just as a writer puts away a manuscript for several hours or days and comes at it fresh, it may be a good idea to make modifications after some time has elapsed. When you’re satisfied, make your final shots checking all of the details on your monitor and fine-tuning as needed.
Document your Set and Lighting
Before packing things up, help your memory first. Take good notes, and sketches, or snap a couple of photos on your mobile phone to help capture your set and give you a visual tool for re-creating your scene. Any special flash or equipment settings should also be noted.
Many times you will find the basics of a previous set a great jumping-off point for your next project–Just set things up again, tweak and you’re good to go. No matter how great your memory may seem, remember that the truly photographic approach to recording history is not done with just neurons, but a camera.
I hope these basic tips inspire you to create a scene from scratch. You will be surprised how many of your existing materials in your working space can be re-purposed on your set.
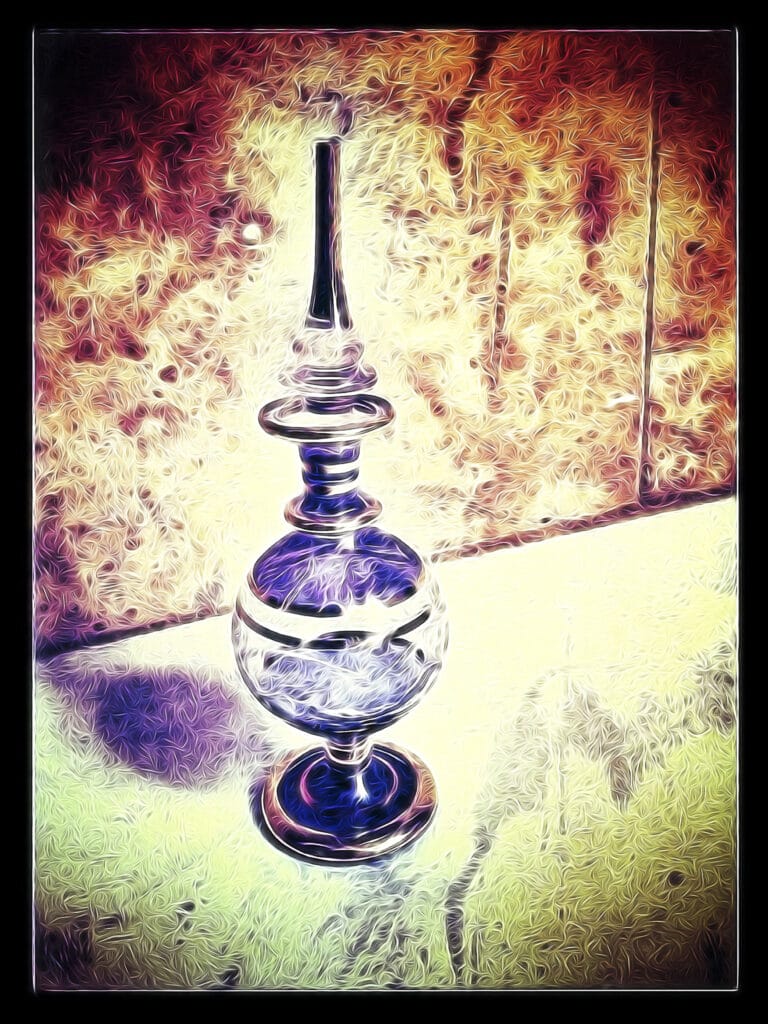
For example, in the scene illustrated at the top, I lined up various liquor bottles as my backdrop and used a hot light with a yellow gel to produce splotches of intense color (some of the colors occur naturally from the contents of the bottles). I added fill light by bouncing in a gel-covered flash on the left side to help give the collection of shot glasses in the forefront blue-ish highlights and a pop of color. A fill card at the front also bounced in a little light to open things up a bit.
I like how the scene brings together a variety of restaurant and bar experiences from my younger days back in Wisconsin. The scene emits color, high energy, and a blur of activity to give a true sense of place with details selectively chosen from reality by my imagination.