How to Get the Best Farm Photos
Looking to get the best agricultural photos during your next farm trip?
First, be sure to get permission. Then consider these eight tips for photographic success.
#1 – Know the weather and the sun’s position at the time of your shoot.
Depending on what you’re shooting and the type of mood you want, the sun’s position will be critical in making or breaking your agricultural photographs.
Lots of sunshine gives you lots of contrast. Use this to your advantage to show off the texture of the soil in upturned rows and furrows.
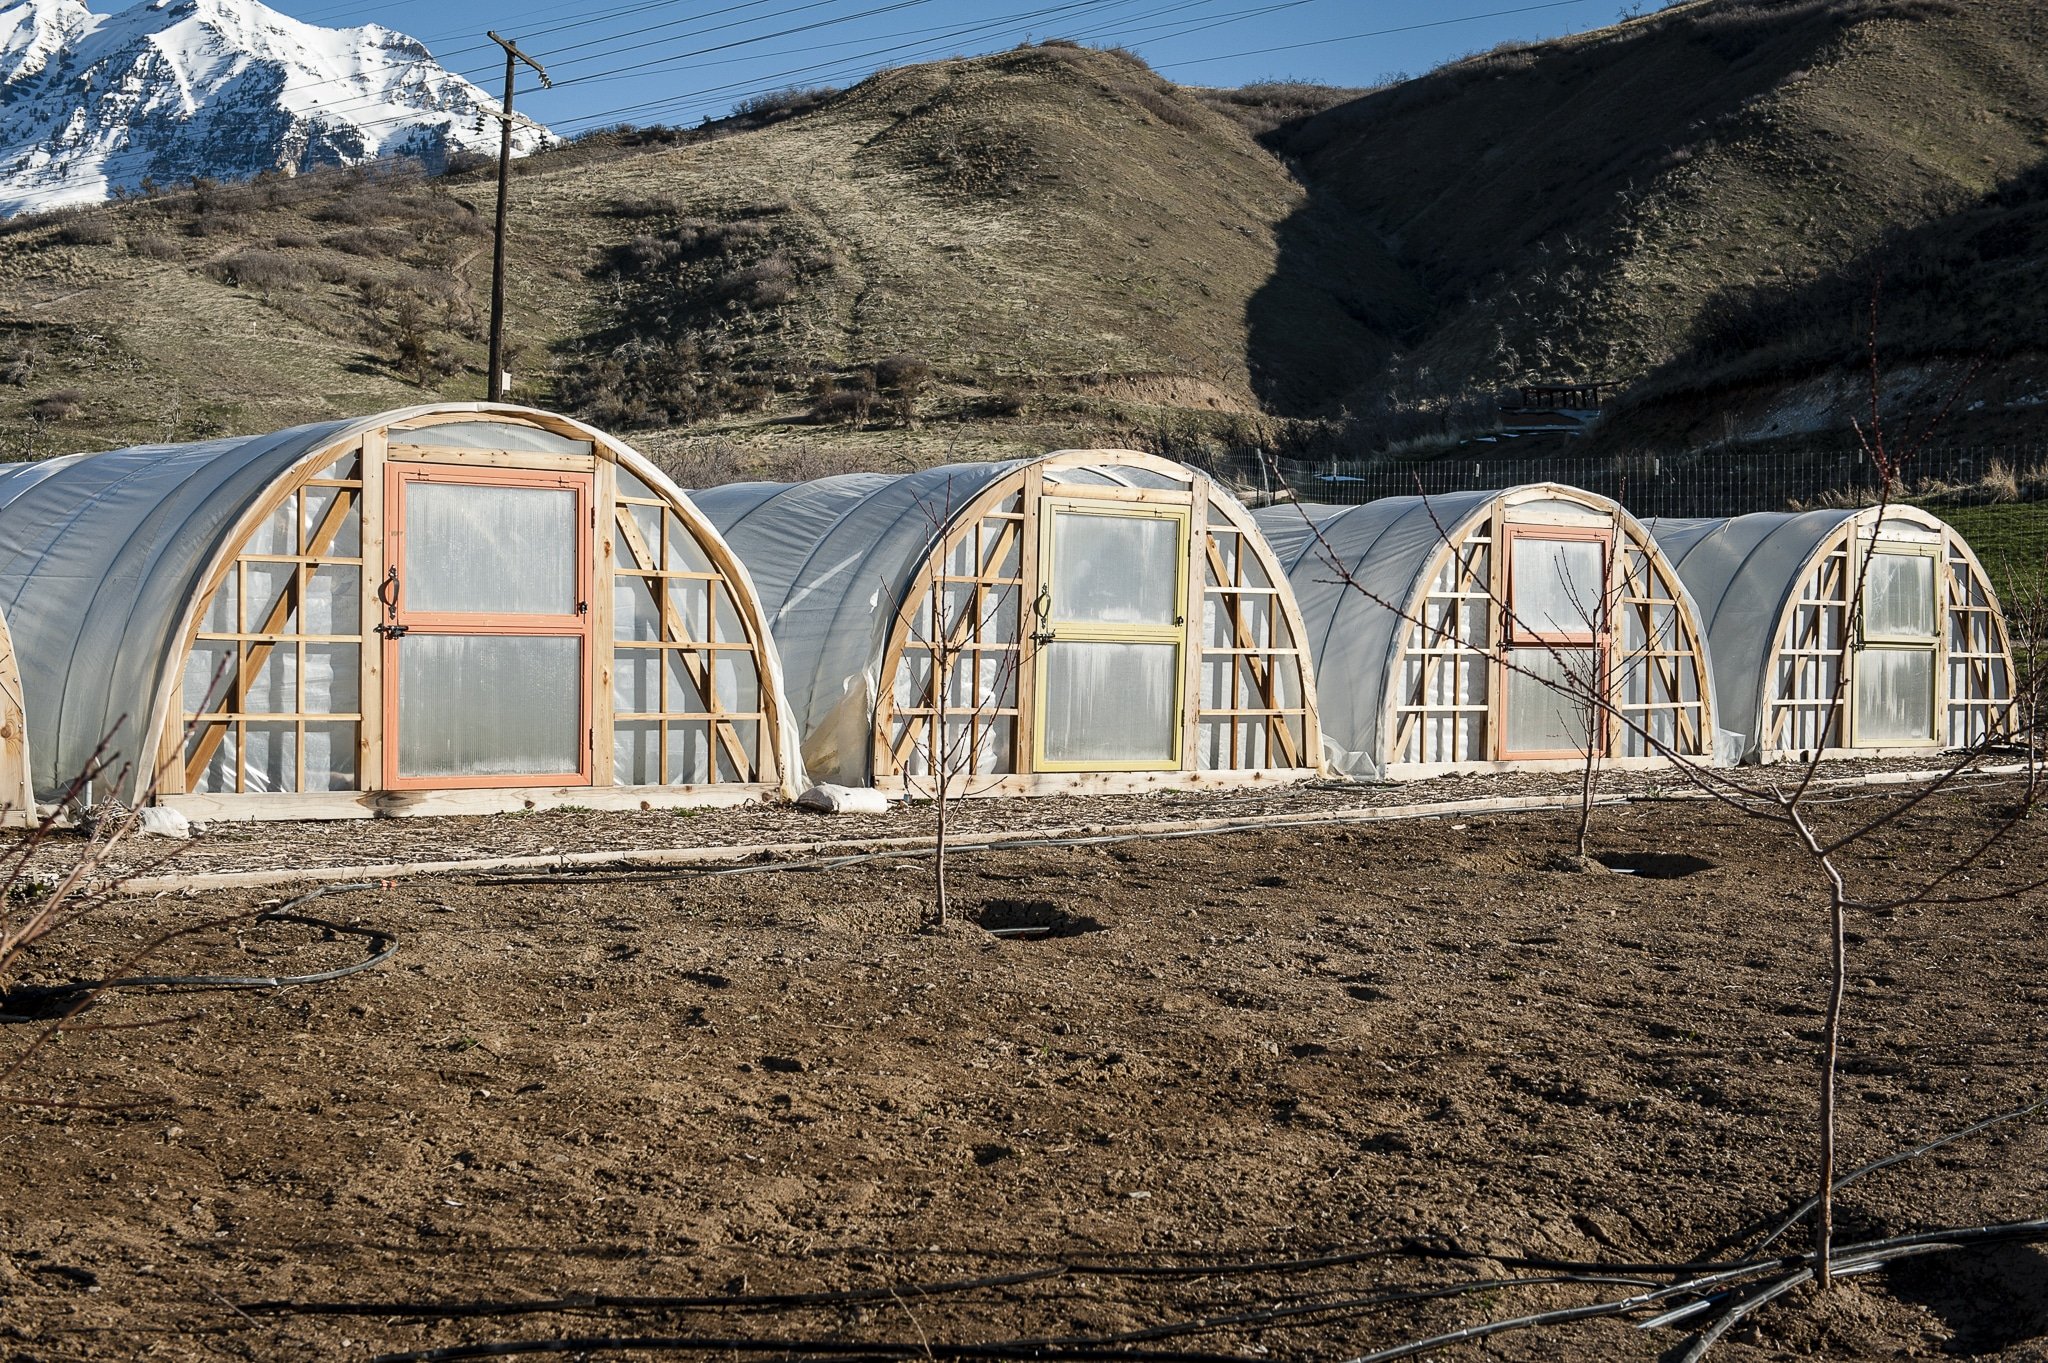
Inside of “tunnels” you may want to add some fill light with a bounce card or reflector.
Out west, consider the “mountain factor” of when the rising or setting sun disappears behind the range and blocks the direct sunlight.
Find out, too, when the activity will be happening at the farm, such as harvesting, to plan the day to your advantage.
#2 – Dress appropriately
Minimize sun exposure by wearing a cap or other head covering. Slather on UV-blocking lotion as well. Wear comfortable long pants, shirts, and shoes that you don’t mind getting dirty (or muddy). Since you will likely be down on your knees and elbows when shooting, it’s important not to mind a little dirt.
Also, think about how to minimize your attractiveness to bees and wasps. Avoid perfume and scented items such as soaps and lotions. Essentially, if you smell like a flower, bees will check you out. Stay away from dark, bold colors like red and black which resemble natural predators and may make flying insects more aggressive. Consider that bee-keepers wear white clothing. Limit your outerwear to khaki, beige or other light colors. And above all, stay calm if bees come around. It’s not what you wear per se, but how you react to bees that may inspire them to act.
#3 – Engage (briefly) with the staff or manager.
Find out what’s going on, where you can go or not, and let the manager know your rough finish time so you can meet and check out. Ask, too, whether he or the staff is ok being in a photo, or just hands, etc. (secure model releases as needed). Remember that above all, productivity drives the success of a farm. You want to minimize anything that takes away from that focus.
#4 -Be safe.
Stay clear of equipment, large and small. As you walk, look for smaller hand tools and handles of rakes and other equipment that you may disturb. Recently irrigated areas make for muddy and slippery patches. Make sure you avoid string or hanging vines that may tangle you up. Look for any ant hills or other natural creatures that have nests in the area where you want to shoot and respect their space.
#5 – Keep the farm safe.
This may seem obvious, but it’s easy to get caught up in your photography and miss that little tendril poking up out of the ground. One false step and SPLAT! Lots of resources went into producing that new growing thing. Respect the effort that goes into creating amazing produce and vegetables on the farm.
#6 – Really look at and examine the scene.
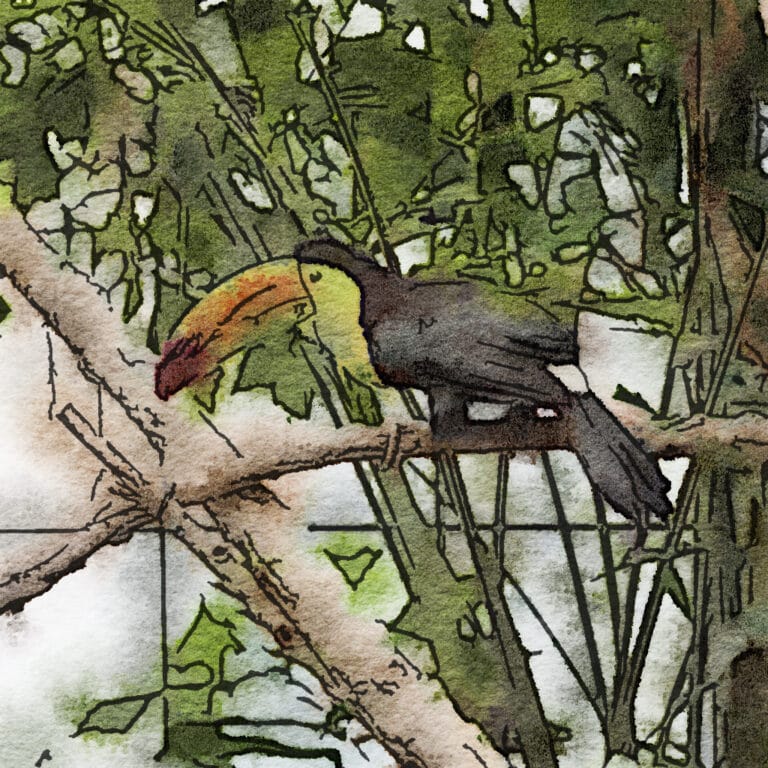
Before shooting, consider the wide shot, the middle view, and then details for each area of where you shoot, similar to journalistic photography. Look for the zen in what you’re shooting before firing off your shutter. Use your other senses to determine your focus. Can you feel the texture of the ground? Can you smell and taste the composted soil being delivered? Every place has a heartbeat and personality that will inspire your inner artist. Check out multiple angles of your subject and try an ant’s- or bird’s-eye view. Consider your lens choice (compression) and depth of field to showcase what you’re photographing.
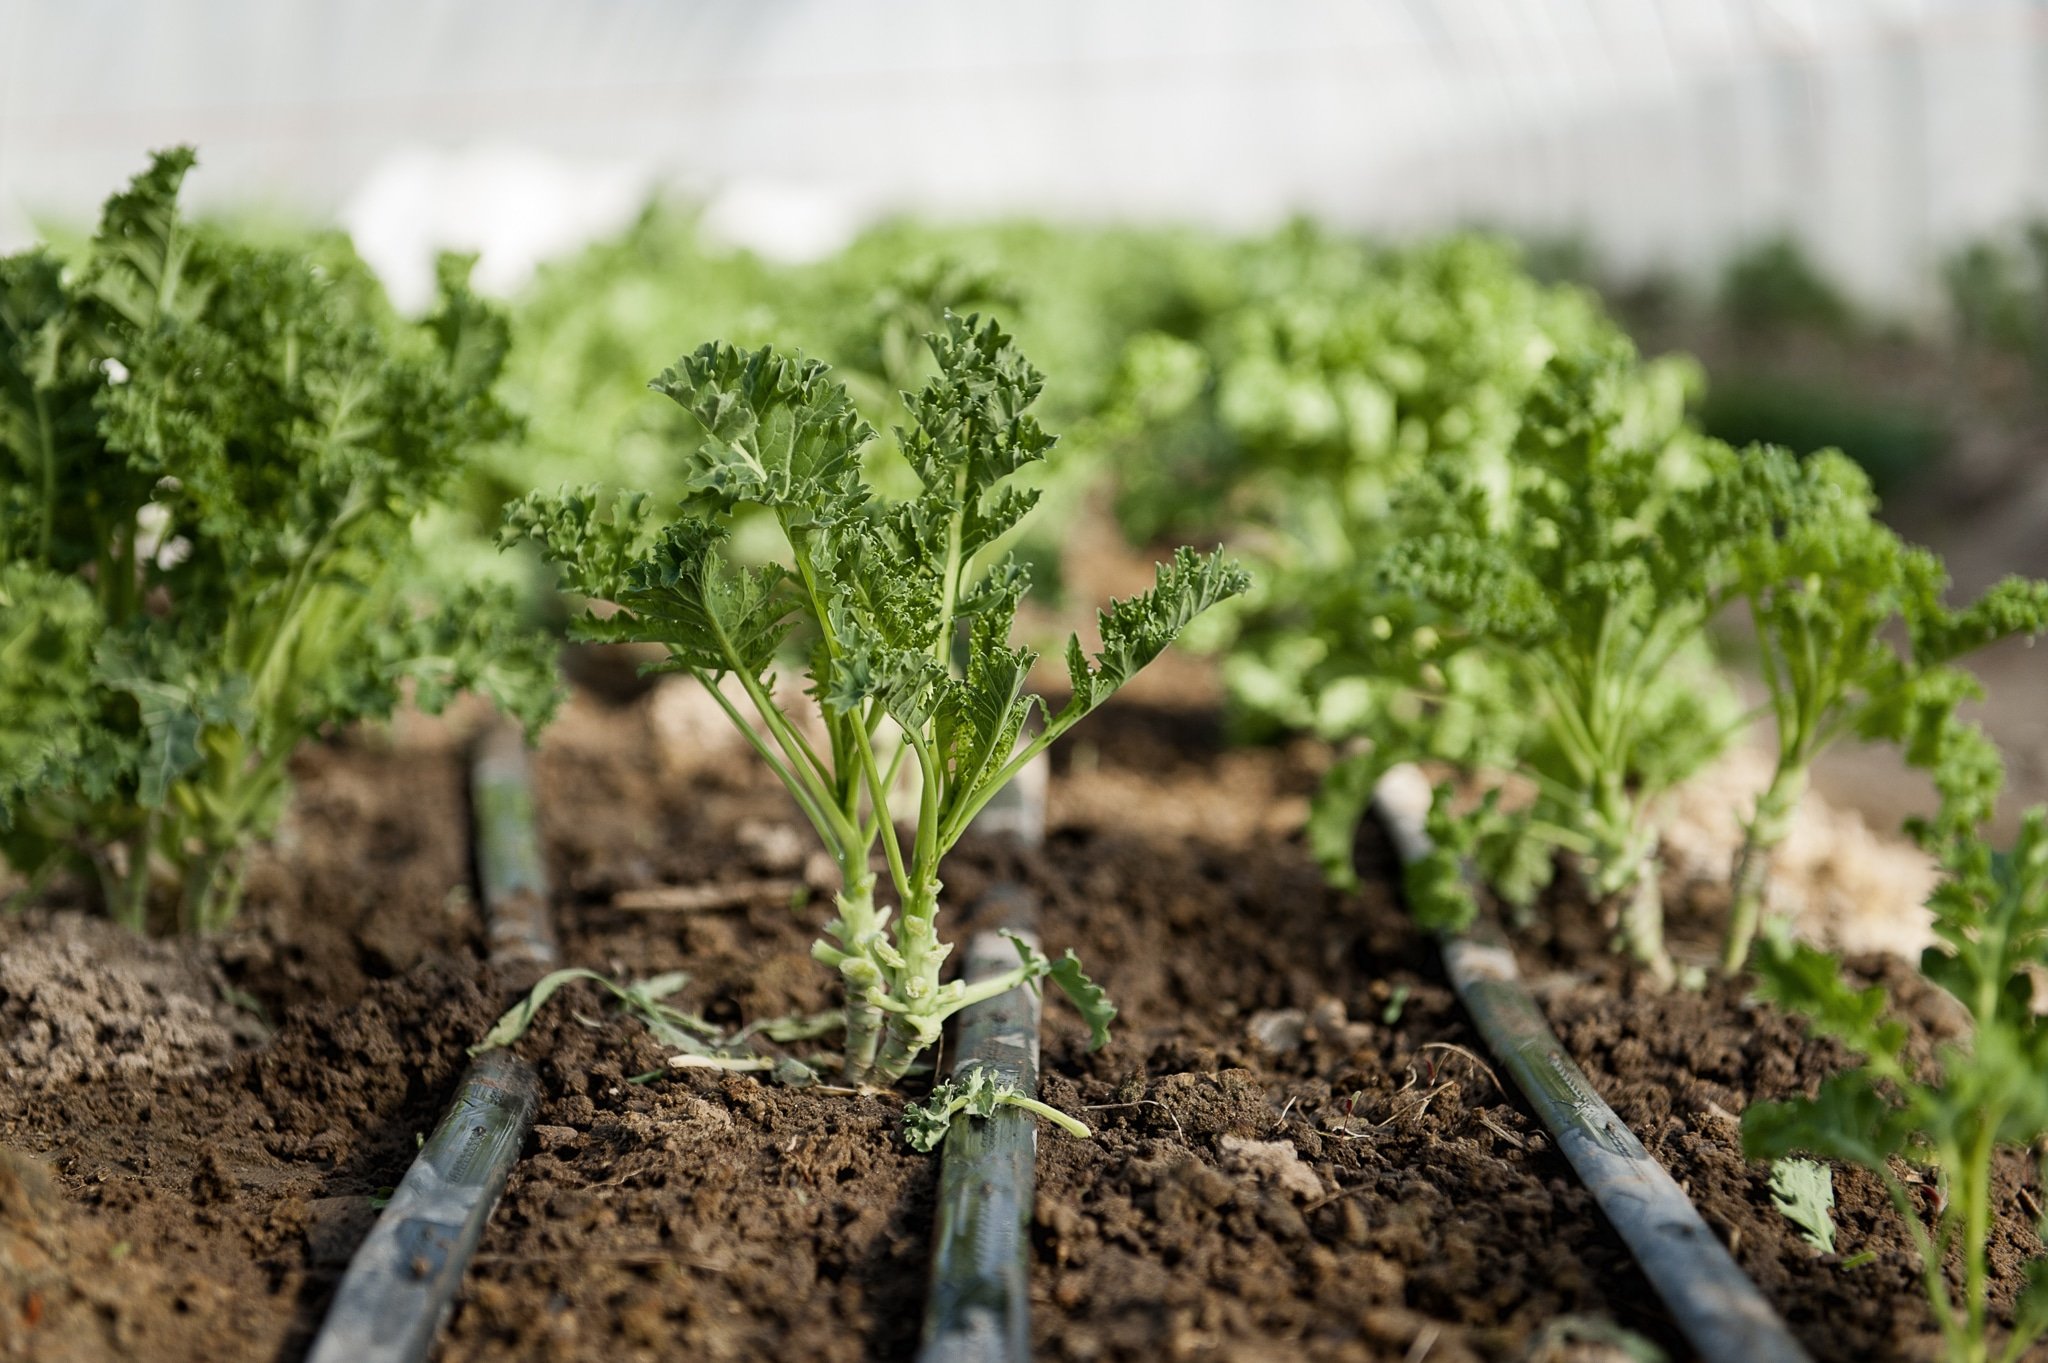
#7 – Know your produce. And what a weed looks like.
Having knowledge of what a tomato seedling looks like will save you time when the Farm Manager points in a direction and tells you to have a look. Also, being able to distinguish between a weed and a plant can help determine the composition of your next shot. Given that the farm is a natural environment try moving yourself vs. using Photoshop to remove a weed or other distracting object from your photograph.
#8 – Protect your camera and equipment from dust and moisture.
Dust seems to always find its way into electronics. Keep your lens cap on between shots. If you go into a growing “tunnel” be sure to let the warm air mingle with the cold before entering or moisture will condensate on your lens.
From experience, if you do get mud on anything, don’t wipe it off right away. Instead, let it dry and later vacuum it off. Tuck a piece of newspaper or a towel in the back of your car on which to lay any mud-caked items to dry. Bring an extra pair of shoes, socks, or jeans to change into before driving home to save you time on cleaning your car.
In Summary
The success of agricultural photography depends on lighting, dressing the part, being courteous, staying safe, and respecting the environment. Knowing about the subject matter (aka leaf identification) also helps in saving time with composition and post-production. No matter the season, the farm presents a chance to document the relationship between man and nature and the opportunity to nurture some great photographs.
Agricultural and Environmental Reading
- 10 Tips to Avoid Bee Stings by Debbie Hadley.
- Top 10 tips for Farm Photography by Tim Relf.
- Getting a Good Farm Photo Shoot (Tips for Farmers & Photographers by Janice Person
- Eco-Friendly Photography